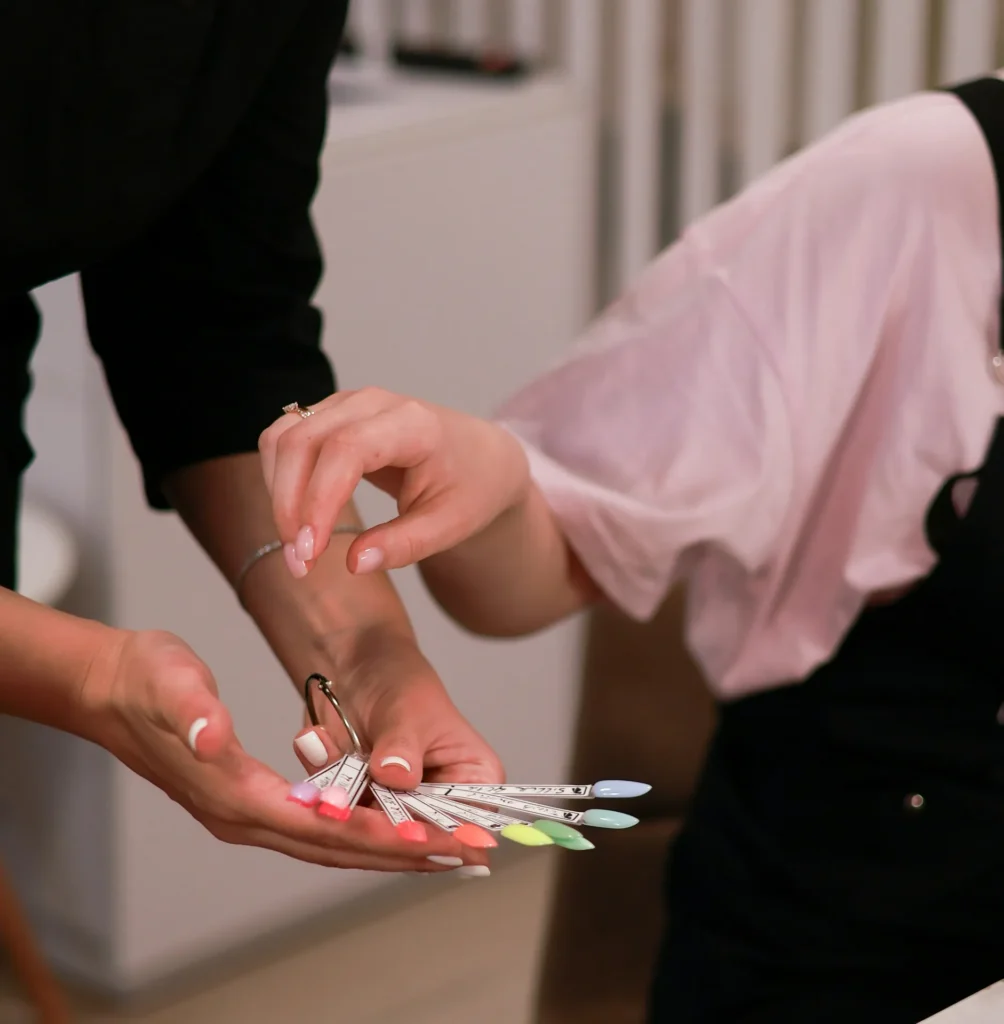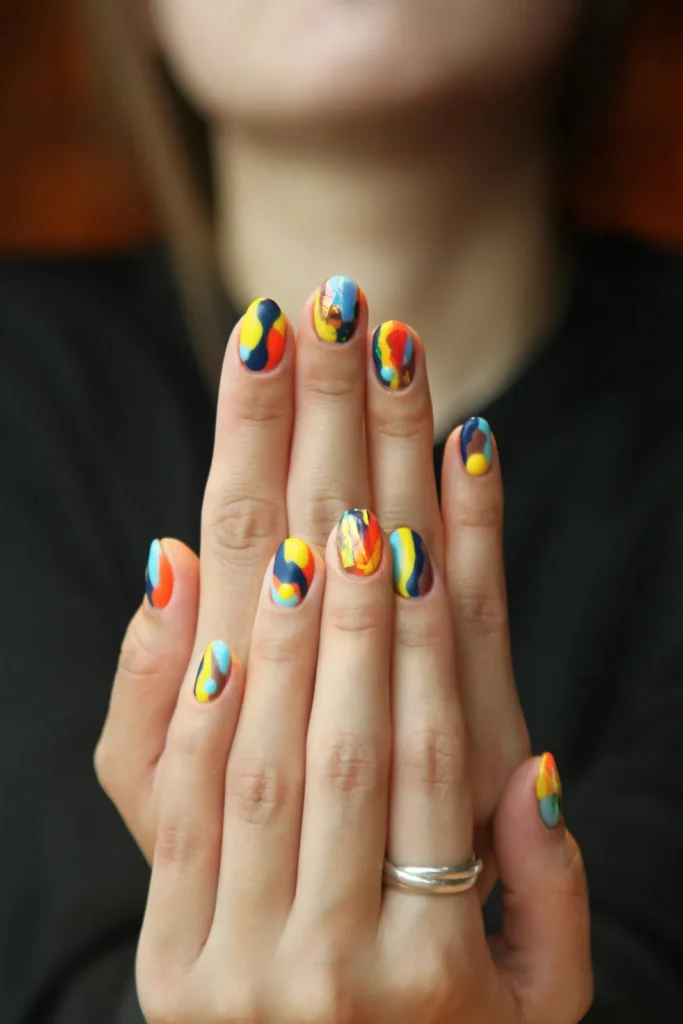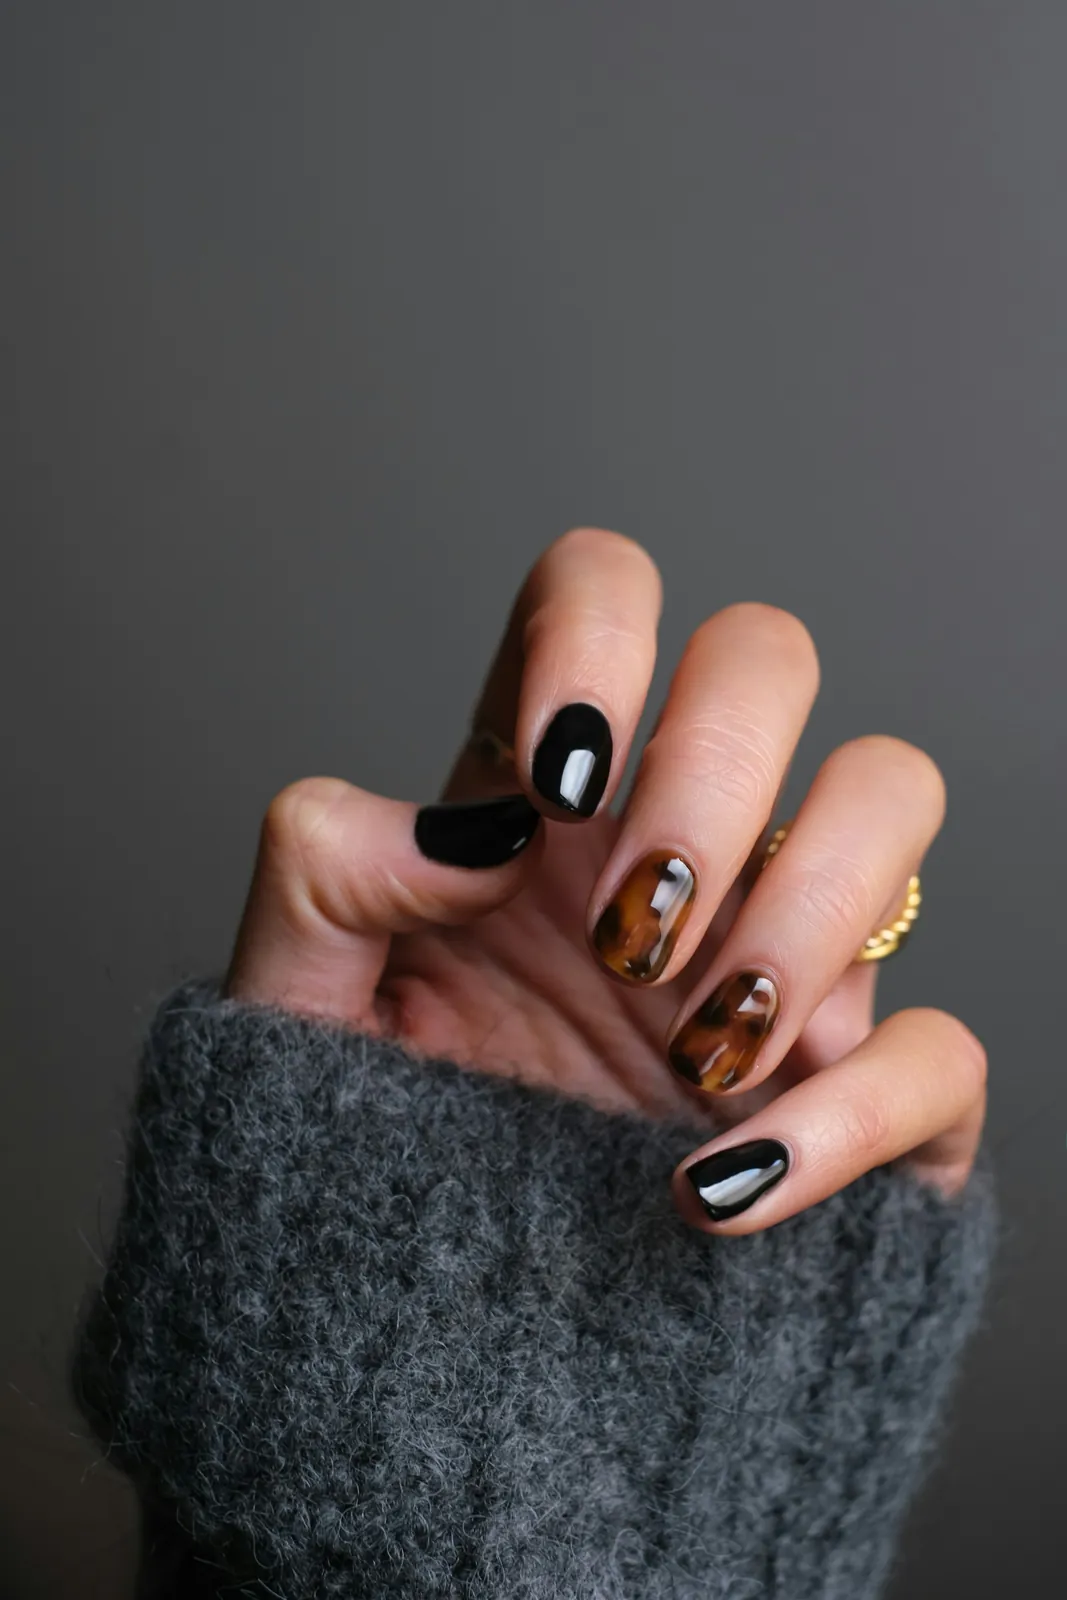
Knowing how to photograph nails turns every set you finish into marketing. Clients choose a salon by its photos long before they read a review: on Google Maps, on Instagram, on your website and on the service list of your booking page. A beautiful set that looks flat, yellow or blurry in a photo does not bring the next client in.
The good news is that you do not need a camera, a studio or a photographer. A recent phone, a window, a plain background and a two-minute routine are enough for nail photos that look as good as the work. This guide covers light, backgrounds, hand poses, phone settings, tricky finishes like chrome and glitter, honest editing, client permission and where to post your best shots.
In this article
- Why good nail photos matter
- What you need for nail photography
- Light: the most important part
- Backgrounds that make nails stand out
- Prepare the hand before the photo
- Hand poses that work
- Phone settings for sharp nail photos
- How to photograph nails by service
- Chrome, glitter and dark colors
- Short videos clients love
- Edit honestly
- Ask permission before posting
- Organize your nail photos
- Where to post your nail photos
- A two-minute photo routine at the station
- Keep the whole team's nail photos consistent
- Common nail photography mistakes
- How Dreamer helps with your photos
- Frequently asked questions
Why good nail photos matter
- Google Maps: photos on your Business Profile help people decide between salons in the same neighborhood.
- Instagram and TikTok: your feed is your portfolio; clients screenshot sets and bring them to the appointment.
- Your website and booking page: a photo next to each service answers "what will it look like?" before the client asks.
- Printed menus and window graphics: strong photos make print look professional too.
- Your team: a good photo is a portfolio piece for the technician who did the work.
Bad photos cost bookings quietly. Nobody tells you "your photos were too dark", they just book somewhere else.
What you need for nail photography
| Item | Why it helps | Tip |
|---|---|---|
| A recent phone | Sharp, clean images with good color | Clean the lens before every shot |
| Window light or a soft LED panel | Even light without harsh shadows | Avoid overhead ceiling lights alone |
| Two or three plain backgrounds | Keeps attention on the nails | Linen, a knit sweater, a marble tile, matte card |
| A few simple props | Adds style without stealing focus | A cup, a flower, a ring, a polish bottle |
| Cuticle oil, lint-free wipes, a small brush | Removes dust and dull skin before the shot | Wipe excess oil so it does not shine |
| A small phone stand (optional) | Steady shots and hands-free video | Useful for clips and flat lays |
You do not need everything on day one. Light and a clean background make the biggest difference.
Light: the most important part
Use window light
Soft daylight from a window is the most flattering light for nails. Sit the client's hand beside the window, not facing it directly, so light falls across the nails at an angle. This shows shape and shine without blowing out the color.
- Best: a bright window without direct sun, or with a sheer curtain.
- Avoid: direct midday sun, which creates hard shadows and glare.
- Avoid: mixing window light with warm overhead bulbs, which makes colors look uneven.
When there is no window
Many salons have stations far from windows. A small LED panel or soft light with a diffuser placed to one side works well. Choose a daylight-balanced light, often marked around 5000–5600K, so whites stay white and reds stay red.
Ring lights are popular, but they leave a round reflection on glossy nails. If you use one, move it to the side or above the hand so the ring is not reflected in every nail.
Never shoot under the gel lamp
The light inside a curing lamp is blue and harsh. Photos taken there make every color look wrong.
Backgrounds that make nails stand out
The background should support the color, not compete with it.
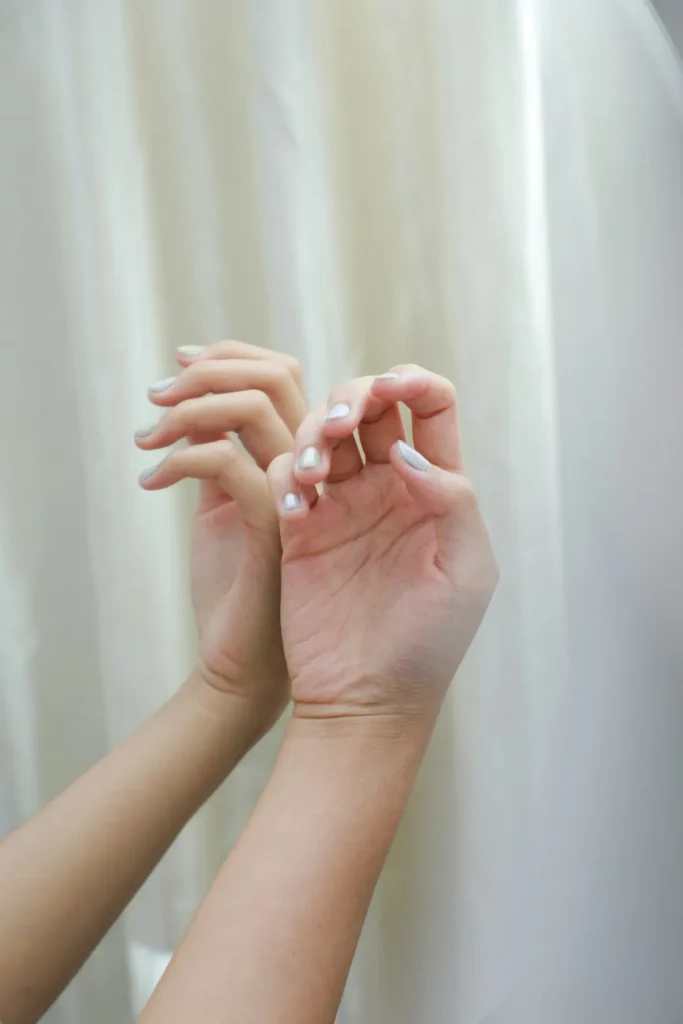
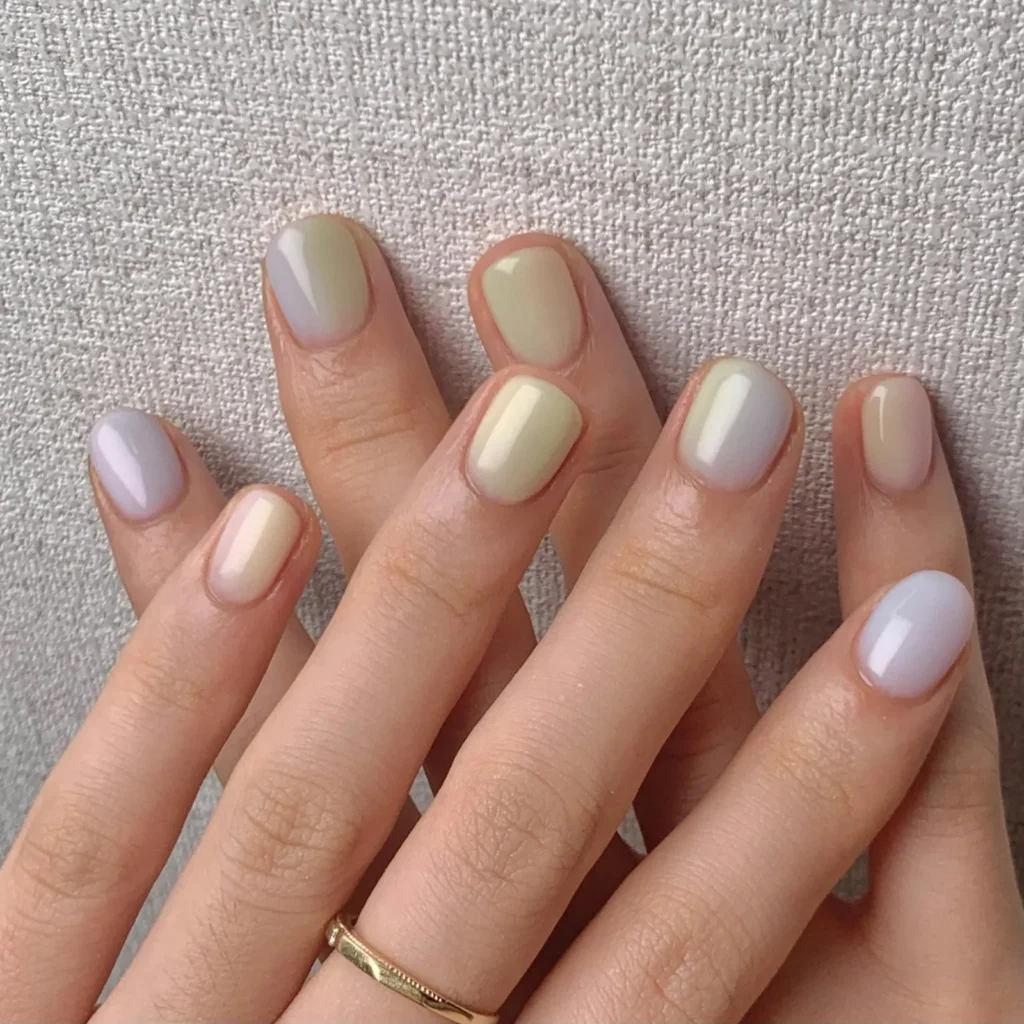
- Neutral backgrounds (cream, white, grey, beige) work with almost every color.
- Textures like knit, linen or paper add warmth without distraction.
- Contrast helps: dark nails on a light background, pale nails on a medium tone.
- Consistency builds a recognizable feed. Pick two or three backgrounds and reuse them.
Avoid busy patterns, messy stations, towels with stains, phone cables and the edge of the trash can. Look at the corners of the frame before you tap the shutter.
Prepare the hand before the photo
Thirty seconds of prep makes nail photos look professional:
- Wipe off filing dust and lint from the nails and skin.
- Apply a little cuticle oil, then gently wipe away the excess so the cuticles look healthy but not greasy.
- Check the sidewalls and cuticle area for gel or polish on the skin, and clean it.
- Ask the client to relax the hand; tense fingers look stiff.
- Decide on jewelry: a simple ring can add style, but too many pieces distract.
If the client's hands are dry, a tiny amount of lotion on the back of the hand helps, but keep it off the nails.
Hand poses that work
Try a few of these with each set and keep the best:
- The soft curve: fingers slightly curled, nails facing the camera. Shows length and shape.
- The side profile: turn the hand to show the apex and thickness of acrylic or structured gel.
- Holding a prop: a cup, a flower, a polish bottle. Natural and good for social media.
- The thumb shot: thumbs often hide in other poses; photograph them separately when they carry the design.
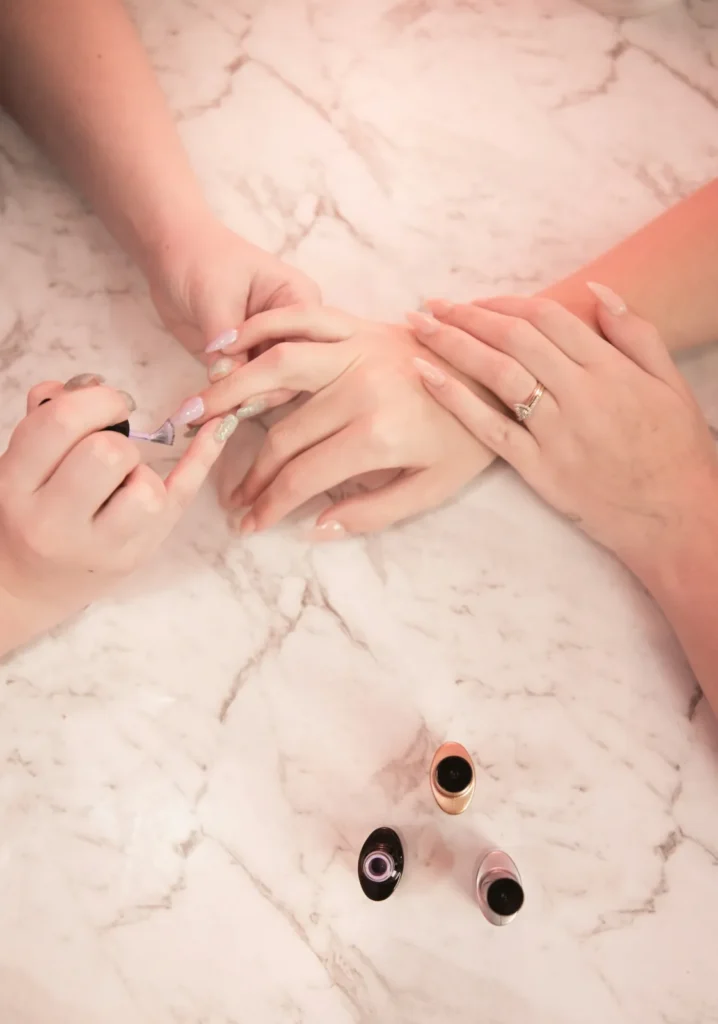
- Two hands: stack one hand over the other, or let fingertips meet. Good for matching sets.
- The flat lay: the hand resting flat on the background, shot from above.
- The claw: for long nails, fingers curled toward the camera so tips show clearly.
- Gesture shots: touching hair, holding a sleeve, resting on a jaw, for a lifestyle feel.
Keep the wrist and fingers relaxed. If a pose feels awkward to the client, it will look awkward in the photo.
Phone settings for sharp nail photos
- Clean the lens. A smudge from a fingerprint softens every photo.
- Turn on the grid. It helps you keep the hand straight and centered.
- Tap to focus on the nails, then lower the exposure slightly so glossy color does not blow out.
- Lock focus and exposure if your phone allows it, so it does not change when you move.
- Use 1x or 2x lenses, not digital zoom. Move closer instead of zooming.
- Try macro mode for detailed nail art, but check that the whole nail stays sharp.
- Be careful with portrait mode. It can blur the edge of fingers in odd ways.
- Take several shots of each pose and choose the best later.
Shoot in the highest quality your phone offers. You can always make a photo smaller for Instagram; you cannot add detail that was never captured.
How to photograph nails by service
Gel and regular polish
Focus on shine and color. Turn the hand slowly in the light until you see a soft highlight across the nails without a hard white glare.
Acrylic and structured gel
Show the shape from above, then a side profile to show the apex. Clients who care about strength want to see a smooth, even curve.
French and ombre
Shoot straight on so the smile line looks even. A slight angle can make French lines look crooked even when they are perfect.
Nail art
Get close with macro or 2x, and make sure the art is sharp. Then take one wider shot that shows the whole hand so clients understand the full look.
Pedicures
Many clients feel shy about feet photos, so always ask. Clean the area around the feet, use a towel or a simple background, and shoot from slightly above. Show color and clean cuticle work rather than the whole leg.
Chrome, glitter and dark colors
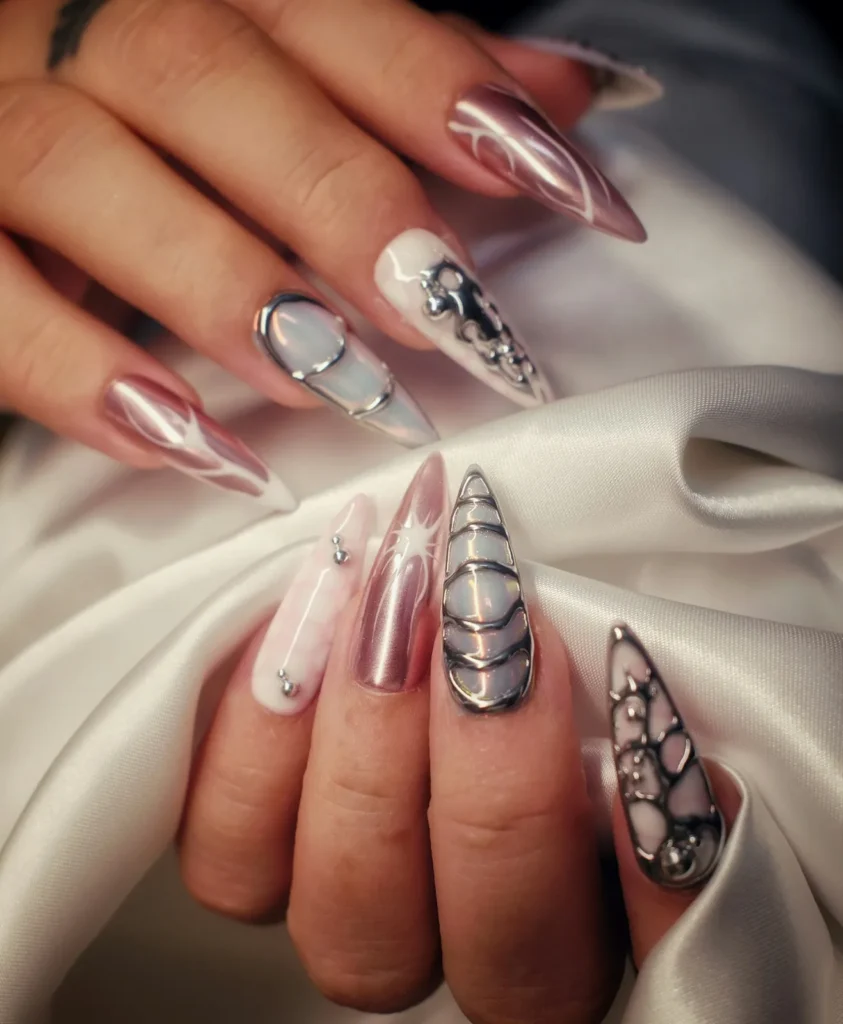
These finishes are hard to photograph, which is why salons that do it well stand out.
Chrome
Chrome is a mirror, so it reflects everything: the ceiling, the phone, the technician. Hold a white card or a sheet of paper above the hand to give the chrome a clean reflection, and angle the hand until the shine looks smooth.
Glitter and cat eye
Glitter sparkles when light moves. Take a short video while slowly turning the hand, then use the best frame as a photo. For cat eye, angle the hand until the line of light is visible.
Dark colors
Black, navy and deep red can look flat. Use a light background for contrast and keep a soft highlight on the nail so the shape is visible.
Short videos clients love
A five to ten second clip often gets more attention than a still photo on Instagram Reels and TikTok.
- A slow turn of the hand in window light.
- The before and after of a fill.
- The final top coat swipe, then the finished set.
- A glitter or cat eye set catching the light.
Keep the phone steady on a stand, use natural light and avoid loud filters. Our guides to nail salon Instagram marketing and nail salon TikTok marketing explain how to turn these clips into posts.
Edit honestly
Editing should fix the photo, not change the work.
- Crop and straighten so the nails are the focus.
- Adjust brightness and contrast slightly.
- Correct white balance if the photo looks too yellow or blue.
- Do not change the nail color or use filters that shift it.
- Do not smooth away uneven cuticles or lifting with editing tools.
Clients bring your photos to the appointment and expect the same result. If the color in the photo is not the color on the nail, you set up a disappointed client. Google's own guidance for Business Profile photos asks for sharp, well-lit images without significant edits or heavy filters.
Ask permission before posting
A hand feels anonymous, but it belongs to a person. Before you post:
- Ask the client: "Can I photograph your nails for our Instagram and Google page?"
- Avoid faces, tattoos or distinctive jewelry unless the client agrees.
- Do not post photos of minors without a parent's permission.
- Respect a "no". Many clients will say yes, especially when you tag or thank them.
A small sign at the station, "We love photographing our work. Please tell us if you prefer we don't", makes the question easier.
Organize your nail photos
Photos get lost on phones quickly. A simple system helps:
- One shared album for the salon, not only personal phones.
- Folders by service: gel, acrylic, dip, nail art, pedicures, seasonal.
- Notes with each photo: color name, technician, service and date.
- Monthly favorites: pick the best five photos each month for Google and your website.
With an organized library, posting takes minutes instead of searching through hundreds of photos.
Where to post your nail photos
Google Business Profile
Google recommends at least three photos in key categories such as interior, exterior, team and products or work. Its tips for business-specific photos list the technical requirements: JPG or PNG, between 10 KB and 5 MB, recommended 720 by 720 pixels, minimum 250 by 250 pixels, and photos that represent reality. Add new nail photos regularly; a profile that shows recent work feels active. Our guide to Google Business Profile posts explains how to pair photos with updates.
Instagram and TikTok
Post your best photos and clips with a caption that names the color, the service and the technician. Save the strongest sets to highlights by service.
Your website and booking page
Every service on your website should have a real photo. Dreamer builds nail salon websites with galleries and service photos; you can see examples in our website templates.
The best photos also belong on your price menu, window graphics and gift certificates. Real work sells better than stock images.
A two-minute photo routine at the station
- Ask the client for permission.
- Clean dust and excess oil from the hand.
- Move to the photo spot by the window or light panel.
- Place the hand on the salon's background.
- Take three poses: soft curve, side profile, prop.
- Shoot a five-second turning clip.
- Thank the client and offer to tag them.
- Add the photo to the shared salon album with the color and service.
Two minutes per client, a few times a day, builds a portfolio of hundreds of real photos in a year.
Keep the whole team's nail photos consistent
When five technicians photograph nails five different ways, your feed looks like five different salons. Agree on a short house style:
- The same photo spot, or two at most, with the same light.
- The same two or three backgrounds.
- The same first pose for every set, such as the soft curve, so the grid looks tidy.
- The same simple edit: crop, straighten, a little brightness, nothing more.
Put the house style on one printed card at the photo spot. New team members learn it in a day, and your nail photos start to look like one brand.
Common nail photography mistakes
- Yellow light from overhead bulbs that makes white look cream.
- Hard glare from a ring light reflected in every nail.
- Messy backgrounds with tools, towels and cables.
- Dust and lint visible on the nails.
- Digital zoom that makes photos grainy.
- Heavy filters that change the color.
- No permission from the client.
- Inconsistent style across the feed, so the salon does not look like one brand.
How Dreamer helps with your photos
Great nail photos are the raw material of salon marketing. Our Social Marketing team uses your real work on your Google Business Profile and social pages, writes captions with the right keywords for your area, and keeps the profile fresh so it ranks better in local search. If you want ideas for what to post each week, see our nail salon social media post ideas.
Frequently asked questions
What is the best light to photograph nails?
Soft window light without direct sun is best. If you have no window nearby, use a daylight-balanced LED panel placed to the side of the hand.
Do I need a ring light for nail photos?
No. Ring lights leave a round reflection on glossy nails. A side light or window light looks more natural.
Which background is best for nail photography?
Neutral, textured backgrounds like linen, knit or matte card work with most colors. Choose two or three and use them consistently.
Should I use filters on nail photos?
Avoid filters that change color. Small adjustments to brightness, contrast and white balance are fine, but the photo should match the real nails.
How do I photograph chrome nails without reflections?
Hold a white card or paper above the hand so the chrome reflects a clean surface, and angle the hand until the shine looks smooth.
Can I post clients' nails without asking?
Always ask first. Most clients are happy to say yes, and asking builds trust.
Learning how to photograph nails takes a few days of practice, not a photography course. Find your light, pick your backgrounds, use the two-minute routine and post your best work every week. Your photos will start bringing in clients who already know exactly which set they want.